# Convert the results to a list of dictionaries students_list = [] for row in results: student_dict = { 'id': row[0], 'name': row[1], 'age': row[2] # Add more fields as needed } students_list.append(student_dict)
# Return the JSON response return jsonify(students_list) # return jsonify(students)
if __name__ == '__main__': app.run(debug=True)
运行成功以后会显示:
 python 'try1_sql.py'
 * Serving Flask app 'try1_sql'
 * Debug mode: on
WARNING: This is a development server. Do not use it in a production deployment. Use a production WSGI server instead.
 * Running on http://127.0.0.1:5000
Press CTRL+C to quit
 * Restarting with stat
 * Debugger is active!
 * Debugger PIN: 678-850-224
Unity 脚本配置
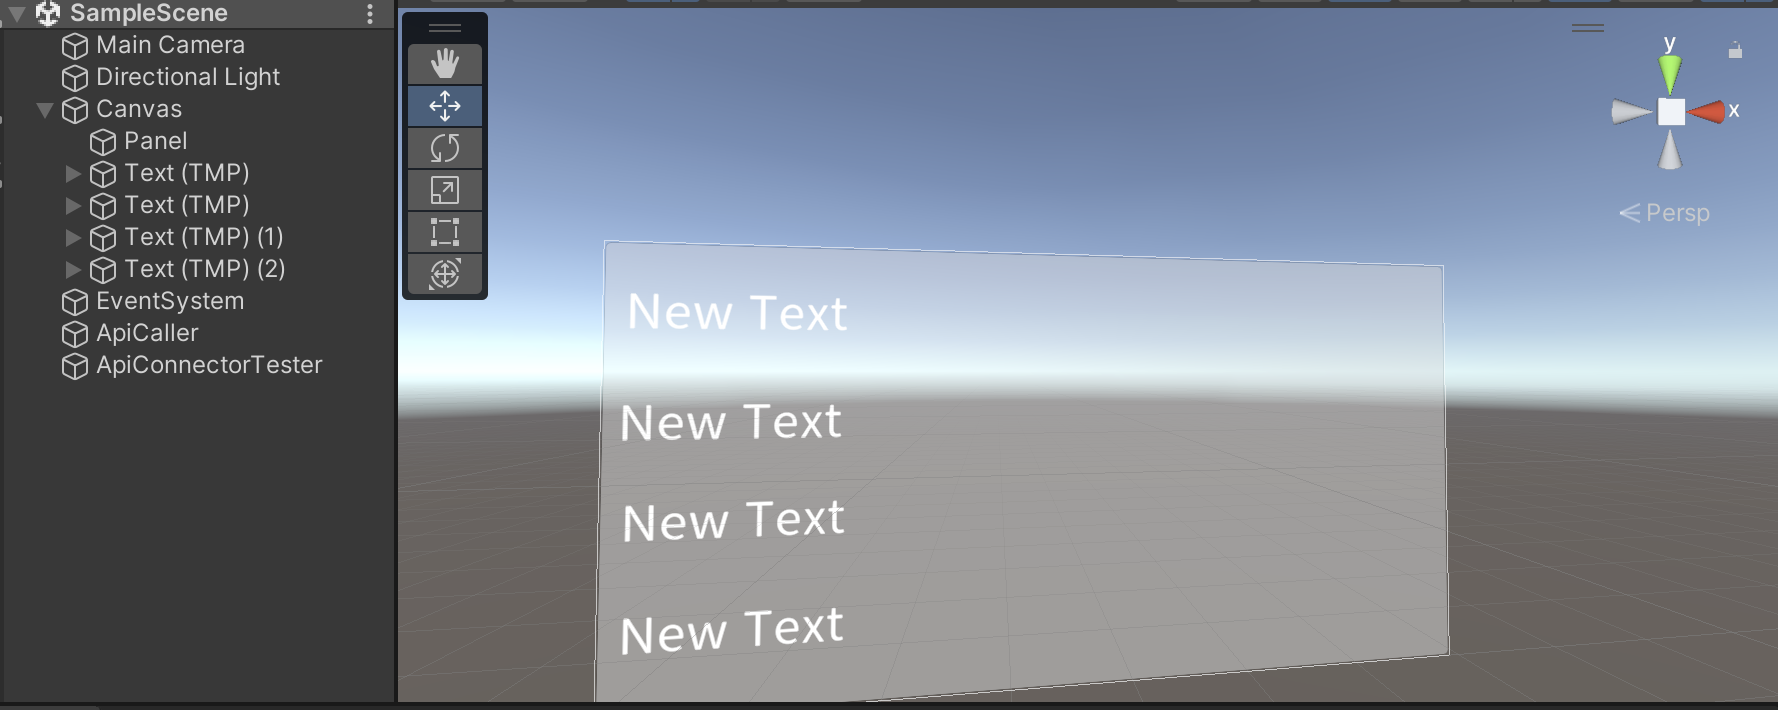
Unity canvas 显示界面
1、首先创建如图的canvas界面:
2、
如果数据库中出现中文,则需要导入中文字体并在TextMeshPro文本框中配置
3、创建一个名为ApiCaller.cs的脚本,并创建一个名为ApiCaller的空物体
以下为ApiCaller.cs的具体内容:
using UnityEngine; using UnityEngine.Networking; using TMPro; using System.Collections; using System.Collections.Generic;
publicclassApiCaller : MonoBehaviour { public TextMeshProUGUI text1; public TextMeshProUGUI text2; public TextMeshProUGUI text3; public TextMeshProUGUI text4;
privatestring baseUrl = "http://127.0.0.1:5000"; // 你的 Flask API 的地址
// Check if content fits in one line float preferredWidth = text.GetPreferredValues(content).x; float rectWidth = text.rectTransform.rect.width;
if (preferredWidth > rectWidth) { // Reduce font size to fit in one line float scaleFactor = rectWidth / preferredWidth; text.fontSize = (int)(text.fontSize * scaleFactor); } }

 wechat